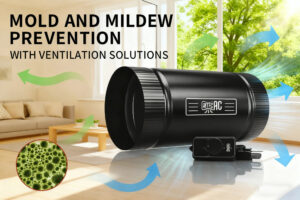
Cleanliness is the key to efficiency. This applies not just to personal life but to the equipment we use every day. Duct fans are one of the most important parts of any ventilation system. Whether in homes, restaurants, factories or warehouses, these fans keep the air flowing smoothly. But like any equipment, they need regular care. Dust, grease and debris can build up fast, reducing efficiency and shortening the fan’s life.
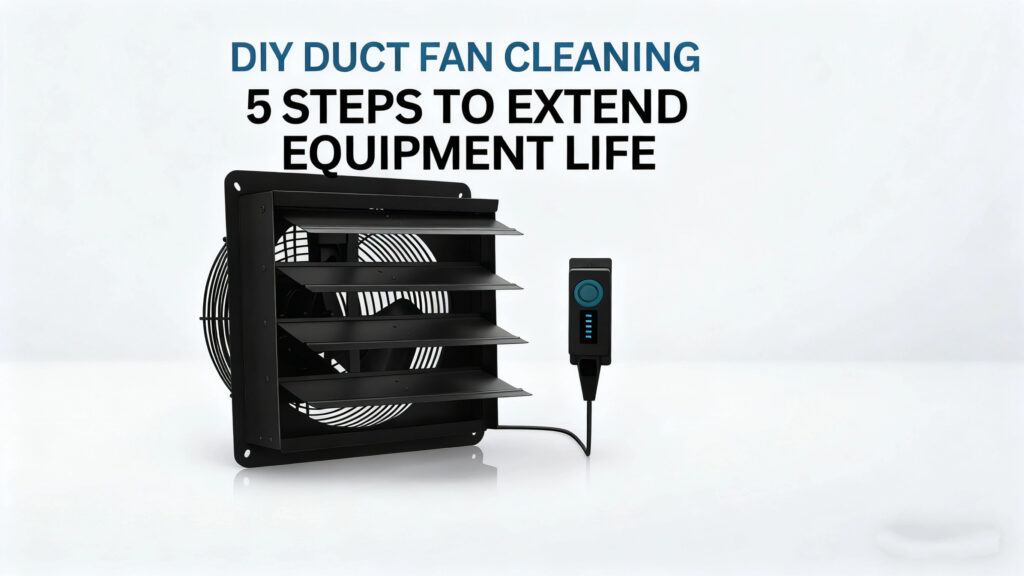
The good news? With just a few simple DIY cleaning steps, you can prolong your fan’s life, reduce energy bills and improve indoor air quality. This guide will walk you through a 5-step cleaning process to keep your fans in top shape, prolong their life and maintain powerful airflow.
Why Duct Fan Cleaning Matters
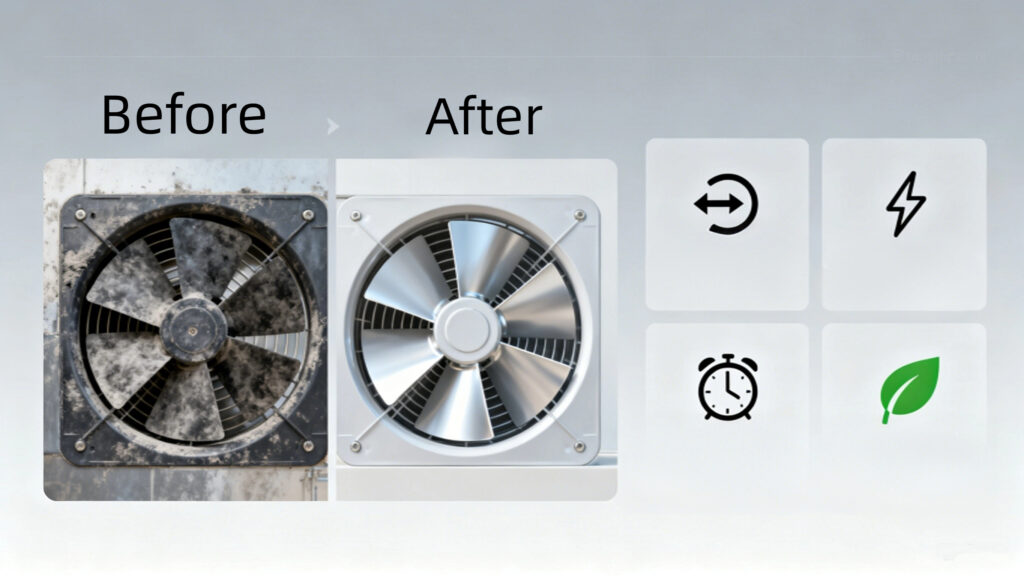
A clean duct fan means more than just dust free blades. It directly affects safety, energy efficiency and comfort. Here are the benefits of regular maintenance:
- Better airflow: Dust buildup restricts performance, reduces circulation.
- Lower energy costs: A clean motor works less, saves electricity.
- Longer equipment life: Dirt free fans last longer and need fewer repairs.
- Healthier environment: Clean fans remove pollutants, mold spores and allergens better.
Ignoring cleaning not only damages your fan but also puts your health at risk and increases long term costs.
Tools and Materials Needed
Before you start, prepare these tools for safe and effective cleaning:
- Screwdriver set
- Soft brush
- Microfiber cloths
- Vacuum with a nozzle attachment
- Mild detergent or degreaser
- Gloves and eyewear
With these ready, you can proceed to the 5 steps.
Step 1: Power Down and Safety First
The golden rule of maintenance: safety before speed. Always switch off the fan and disconnect it from the power source before starting any cleaning task. Skipping this step not only risks electrical shock but can also damage the motor or wiring.
Get the right tools before you begin:
- Gloves
- Safety goggles
- Screwdriver set
- Vacuum with a brush attachment
- Mild detergent or cleaning spray
- Soft microfiber cloth
When working with commercial systems like an 830 CFM Shutter Exhaust Ventilation Fan, shutting down power ensures your safety and prevents accidents. Always double check for exposed live wires.
Step 2: Remove Dust and Debris
Dust is the silent killer of ventilation equipment. Over time, particles clog blades, reduce airflow and make motors work harder. This not only shortens the fan’s life but also increases energy bills.
Use a vacuum with a brush attachment to clear loose dust from the blades, shutters, and housing. For heavy buildup, a soft-bristled brush helps loosen debris without scratching surfaces.
Pro Tip: Always follow the manufacturer’s instructions. Many installation guides specifically recommend against using compressed air as it may force debris deeper into the motor. If the product guide says so, stick with a vacuum and manual wiping. You’ll improve airflow and prevent your system from straining unnecessarily by cleaning dust regularly.
Step 3: Clean the Blades and Housing
Once the surface dust is gone, it’s time for a deeper clean. Using a damp cloth and mild detergent, wipe each blade thoroughly. Avoid harsh chemicals as they can corrode metal parts and weaken protective coatings.
For models like the 830 CFM Shutter Exhaust Ventilation Fan, this step is crucial. Clean blades run quieter, reduce vibrations and maintain their designed airflow capacity.
Focus on these areas:
- Blades: Wipe both sides for balanced performance.
- Housing: Remove grease, dirt and buildup from the fan casing.
- Shutters: Ensure shutters move freely and aren’t blocked by grime.
Regular cleaning reduces mechanical stress which extends the life of the fan significantly.
Step 4: Inspect the Motor and Moving Parts
Fans are only as strong as their motors. During cleaning, inspect the motor for signs of wear such as burnt smells, grinding noises or visible cracks. Lightly check the mounting brackets and ensure no screws are loose.
Some motors require lubrication. If your fan’s installation guide includes this step, apply the recommended oil sparingly to the moving parts. But never attempt electrical repairs unless you’re a licensed technician. If you suspect serious damage, call a professional to avoid making it worse.
By combining cleaning with inspection, you can catch small issues before they become big breakdowns.
Step 5: Reassemble and Test Run
After cleaning, ensure all parts are fully dry before reassembly. Reattach the blades, shutters and housing. Tighten all screws and double check moving parts rotate freely without obstruction.
Replug the power and test run the fan. Listen:
- Is the motor smooth?
- Are the blades balanced and quiet?
- Do the shutters open and close easily?
If the fan is quieter and more efficient than before, you’ve done a good job.
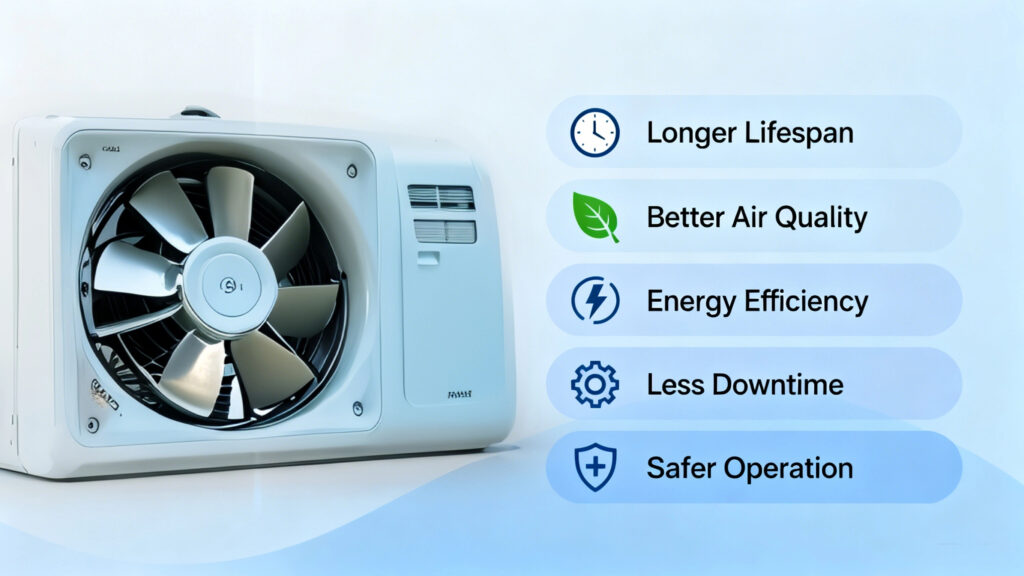
Benefits of Duct Fan Maintenance
Maintaining your duct fan isn’t just about cleaning equipment. It’s about protecting your investment and performance. Here are the benefits:
- Longer Lifespan: Clean fans last years longer than neglected ones.
- Better Air Quality: Less dust and debris means fresher indoor air.
- Energy Savings: Fans run more efficiently, lower energy bills.
- Less Downtime: Well maintained fans are less likely to fail.
- Safer Operation: Prevents overheating and electrical risks.
In commercial environments, these benefits mean uninterrupted operations and lower maintenance costs.
Tips to Keep Your Fan Running Longer
Cleaning should be part of your maintenance routine. Here are professional tips inspired by installation guides and best practices:
- Clean every 3–6 months, depending on usage.
- Check shutters to make sure they close properly when the fan is off.
- Lubricate moving parts if recommended by the manufacturer.
- Check power connections for signs of wear or loose wires.
- Upgrade when needed: If your fan still struggles after cleaning, it may be time to replace it with a stronger one like the 830 CFM Shutter Exhaust Ventilation Fan, designed for heavy duty airflow in commercial spaces.
Why Aitecac Ventilation Fans?
Not all fans are created equal. Aitecac fans stand out for:
- Wide Range of Products: From Inline Filter Box Systems to 830 CFM Shutter Exhaust Ventilation Fans, Aitecac has solutions for every space.
- High Performance: Fans deliver high airflow (up to 830 CFM) with low noise for comfort.
- Durability: Built with rust resistant aluminum and premium materials for long life.
- Smart Options: Some models have WiFi-App control.
- Energy Saving: Designed to reduce ventilation costs and be sustainable.
- Customer Focused: Products are tested to industry standards and user satisfaction.
Looking for ventilation that pays for itself through durability and efficiency? Look no further than Aitecac. Browse our Shutter Exhaust Fans and find your solution.
Conclusion
DIY duct fan cleaning is easy when done right. By following the 5 steps, power off, clean exterior, clean blades, clean motor, reassemble, and you’ll extend the life of your ventilation system. Maintenance saves money, improves air quality, and enhances safety. Invest in good quality fans like Shutter Exhaust Fans or the 830 CFM Shutter Exhaust Ventilation Fan and you’ll get even better performance and reliability.
Clean fans. Better airflow. Longer life. That’s the simple formula.