Using an attic fan in the morning can replace stale indoor air with fresh air in just minutes. However, attic ventilation fans also have their pros and cons. For instance, if you want to use it to cool your home in summer, it might not be the best choice, as it only works effectively when the outside temperature is cooler than inside.
What is an Attic Ventilation Fan?
When natural ventilation is insufficient, proper use of an attic fan can balance indoor and outdoor temperatures to improve comfort. Remember to close windows on the sun-facing side of the house and open those in shaded areas when using it. Also, choose the type of attic ventilation fan that suits your needs.
Types of Ventilation Fans
Type | Operation Mechanism | Characteristics |
Electric Attic Fan | Connected to household power | Can be paired with a thermostat; high airflow for rapid exhaust |
Solar Fan | Uses solar energy | Eco-friendly & energy-saving; cost-effective long-term |
Wind-Powered Attic Fan | Relies on wind | Zero electricity consumption; requires a stable wind source |
How Do Attic Ventilation Fans Work?
During summer, direct sunlight heats up your roof, causing attic temperatures to sometimes soar as high as 130°F, particularly across the American South. That’s where an attic ventilation fan comes into play: it actively pushes out sweltering air from your attic and replaces it with cooler outside air.
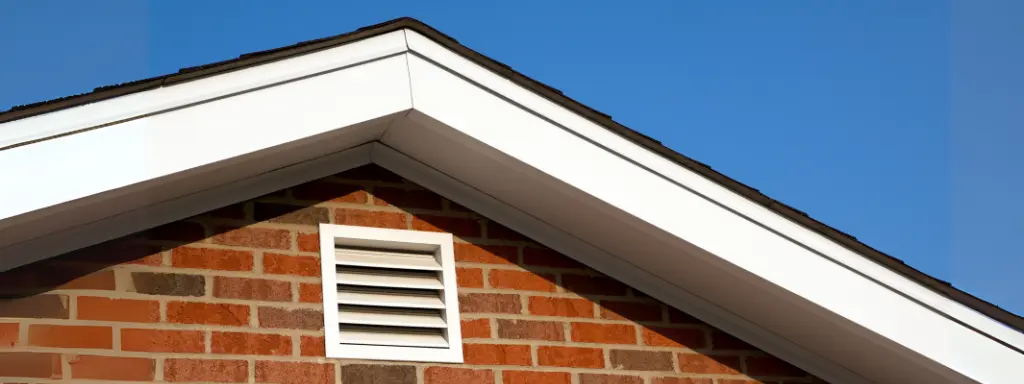
Fresh air enters through intake vents under the eaves or along rooflines. Smart placement of these vents keeps airflow moving smoothly through the space. As this fresh air heats under the blazing sun, the fan mounted on your roof peak or gable exhausts it through dedicated outlets.
This creates a continuous air exchange cycle that stops heat and moisture buildup in its tracks.
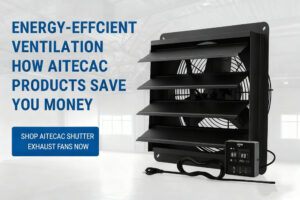
Aitecac’s 576-cfm shutter-exhaust fan features built-in thermostats that kick on automatically when temperatures hit preset levels. This delivers ventilation only when needed, cutting energy costs while boosting efficiency.
Pros Of Attic Ventilation Fans
Energy Savings & Cost Reduction
- Lowers attic temperature → Reduces air conditioning usage
- Solar models offer extra electricity savings (e.g., a 300W model costs only $0.03/hour to run)
Roof Protection
- Can reduce summer attic temperatures from 120°F to 90°F (though this requires a significant temperature difference regionally)
- Extends roof material lifespan by 3-5 years
Improved Air Quality
- Reduces humidity by 50%, inhibiting mold growth
- Effectively expels volatile organic compounds (VOCs) like formaldehyde
Cons Of Attic Ventilation Fans
Energy Consumption Risk
If the attic is poorly sealed, the intense negative pressure created by the fan can draw cooled indoor air into the attic, leading to higher energy consumption.
Maintenance Requirements
- Quarterly cleaning: Dust buildup on blades reduces efficiency by 30%
- Motor lubrication: Needed 1-2 times per year
Noise Issues
The noise from attic fans can be unbearable; some models reach 60 dB sound pressure level.
Limited Cooling Effectiveness
- Attic fans work differently from whole-house fans. Whole-house fans are better at drawing cool night air indoors to cool the entire house, while attic fans require a larger temperature difference to achieve similar results.
- The cooling effect is far inferior to air conditioning.
- Electric fan: 400−800 (including professional installation)
- Solar fan: 600−1,200
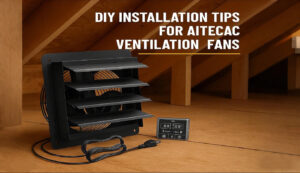
Step-by-Step Guide to Attic Fan Installation
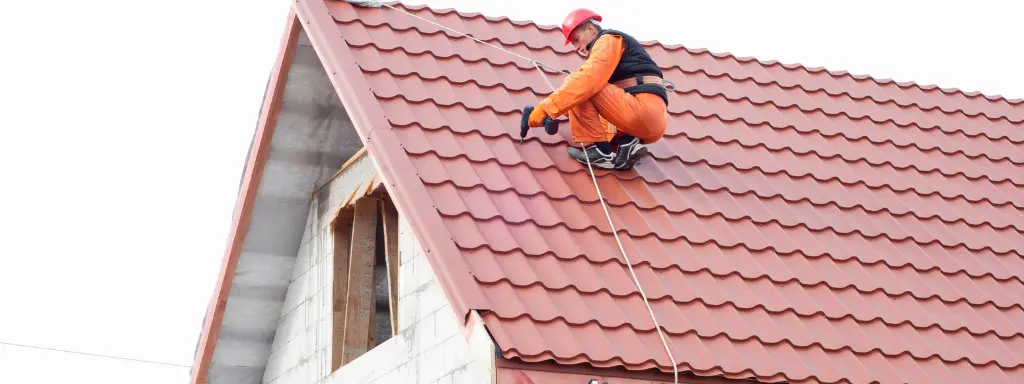
Step 1: Choose the Right Location
Install the fan at the highest point of your roof or gable wall.
Check for:
- Minimum 3-foot clearance from chimneys or vents
- Access to electrical wiring
- Solid wood framing (avoid weak spots or rot)
Step 2: Prep the Area
- Turn off power at the breaker.
- Wear safety glasses, gloves, and a dust mask.
- Measure the fan housing size.
- Mark cutting lines with a pencil.
- Clear insulation and debris.
Step 3: Cut the Opening
- Drill starter holes at corners.
- Cut along marked lines with a jigsaw.
- Make the opening slightly smaller than the fan housing for a tight fit.
Tip: Place a tarp below to catch debris.
Step 4: Install the Fan
- Slide the fan into the opening.
- Secure mounting brackets to roof rafters (not just sheathing).
- Seal edges with roofing caulk.
Step 5: Connect Wiring
- Run 14/2 NM-B cable from a junction box.
- Match wire colors:
- Black to black (hot)
- White to white (neutral)
- Green to bare copper (ground)
- Secure with wire nuts.
- Tuck wires away from fan blades.
Step 6: Test the Fan
Flip the circuit breaker on and start the fan. If it runs smoothly without odd noises, the installation succeeded. If not, cut power immediately and recheck all electrical connections before retesting. Fix any issues found.
Save on installation by DIY? Think twice. Attic temperatures can hit 130°F+ in summer—enough to cause heat exhaustion in under 10 minutes. This isn’t just tough work; it’s dangerous. Hire a pro instead. Yes, you’ll pay 500−2,000 more, but that’s cheaper than an ER visit.
Conclusion
Attic fans offer real benefits—cutting cooling costs, protecting your roof, and fighting moisture—but they’re not a magic fix. If you live in a region with cool nights and hot days, and your attic is well-sealed, a solar or smart thermostat model delivers solid value. Just remember: they complement rather than replace your AC. Weigh your climate, budget, and needs before installing, and you’ll enjoy quieter, more efficient home comfort.